Sessy battery
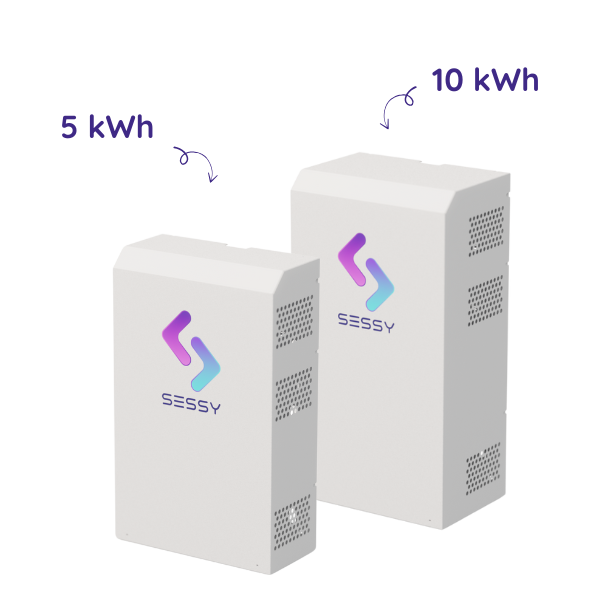
The Sessy is a smart battery with a lithium iron phosphate (LiFePO4) cell, available in a 5 kWh and 10 kWh variant. The battery is always controlled via the local network — no RS485/Modbus connection is needed. Communication runs through the Sessy dongle installed at the bottom of the battery.
When the Currentt Navigator controls the Sessy, it is not necessary to install the Sessy P1 dongle. The Currentt Navigator has built-in energy metering and takes over this function.
⚙️ How does it work?
The Sessy dongle manages the charging and discharging behavior of the battery. Normally, the dongle uses information from the Sessy P1 dongle (connected to the smart meter) for this purpose. When the Currentt Navigator controls the battery, the Navigator takes over this role. The Navigator communicates directly with the Sessy dongle via the local network.
🧰 Requirements
- Currentt Navigator (connected to the local network)
- Sessy battery (5 kWh or 10 kWh) with Sessy dongle
- Network connection (Ethernet or WiFi) for the Sessy dongle
- Username and password of the Sessy dongle (printed on the silver sticker on the dongle)
- IP address of the Sessy dongle
Connect the Sessy dongle preferably via an Ethernet cable (RJ45) rather than WiFi. A wired connection is more stable and prevents communication issues caused by a weak or fluctuating WiFi signal. The Sessy dongle has an RJ45 Ethernet port.
📖 Manual
1️⃣ Step 1: Connect the Sessy dongle to the network
The Sessy dongle must be connected to the same network as the Currentt Navigator. This can be done via Ethernet (recommended) or via WiFi.
Option A: Ethernet (recommended)
- Connect an Ethernet cable (CAT5 or CAT6) to the RJ45 port on the Sessy dongle
- Connect the other end to your network switch or router
- The dongle will automatically receive an IP address via DHCP
Option B: WiFi
- Upon startup, the Sessy dongle creates its own WiFi network (access point) named Sessy-XXXX (where XXXX are the first 4 characters of the username)
- Connect a phone or laptop to this access point. The password is on the sticker on the dongle
- Open a browser and navigate to http://10.10.10.10
- Log in with the username and password of the dongle (printed on the sticker)
- Go to the Network tab
- Enter the WiFi SSID (the name of your home network — this must be a 2.4 GHz network)
- Enter the WiFi password of your home network
- Click Save
- Wait until the status changes to "connected to wifi" (this may take up to 30 seconds)
After connecting to the home network and restarting, the dongle's own access point (Sessy-XXXX) will disappear. The dongle will then only be reachable via the assigned IP address on the home network.
Do not connect the dongle to a guest network. Ensure reliable signal strength. For mesh networks, verify that bidirectional communication via the mesh is enabled.
2️⃣ Step 2: Determine the IP address
To connect the Sessy dongle to the Currentt Navigator, you need the IP address of the dongle.
Finding the IP address
- Via the dongle interface: After connecting to the network, the IP address is shown in the dongle's web interface
- Via your router: Check the DHCP client list of your router for a device named "Sessy"
- Via the Sessy portal: The IP address is also visible in the Sessy portal or via the installation app
3️⃣ Step 3: Configure the Sessy dongle
When the Currentt Navigator controls the Sessy, the Sessy dongle must be set to the correct mode:
- Open a browser and navigate to the IP address of the Sessy dongle
- Log in with the username and password (printed on the sticker on the dongle)
- Go to the Settings tab
- Set the energy strategy to Open mode (control by third party)
- Configure which phase the Sessy is connected to (L1, L2, or L3) — this must match the position of the phase selector (the black jumper) in the Sessy
- Set the maximum current of the circuit in accordance with the value of the circuit breaker (RCBO)
- Click Save
When the Currentt Navigator controls the Sessy, you do not need to enter the IP address of the P1 dongle in the Sessy dongle settings. The Navigator replaces the P1 dongle.
4️⃣ Step 4: Configuration in the Currentt Navigator
After setting up the Sessy dongle, the battery must be added in the Currentt Navigator.
Via the setup wizard (recommended)
- Click the settings icon (top right of the screen)
- Choose Setup Wizard
- Follow the on-screen steps
Manual configuration
- Click the settings icon (top right of the screen)
- Go to Components
- Click the + button in the Batteries section
- Select Sessy
- Indicate which phase the Sessy is connected to (L1, L2, or L3)
- Enter the connection details:
| Parameter | Value |
|---|---|
| IP address | (IP address of the Sessy dongle) |
| Username | (printed on the sticker on the dongle) |
| Password | (printed on the sticker on the dongle) |
🔗 Multiple Sessy units
When using multiple Sessy units, each battery must have its own Sessy dongle. Repeat steps 1 through 4 for each Sessy. Distribute the Sessy units across the available phases when there is a three-phase connection.
📋 Settings summary
| Parameter | Value |
|---|---|
| Connection | Local network (Ethernet or WiFi) |
| Protocol | Sessy API (via IP) |
| Authentication | Username + password (on dongle sticker) |
| WiFi | 2.4 GHz |
| Ethernet | RJ45 |
| P1 dongle | Not required when controlled by Currentt Navigator |
💡 LED status indicators
The Sessy dongle has an RGB LED that indicates the status:
| LED color | Meaning |
|---|---|
| Green (blinking) | Normal — heartbeat |
| White | Missing signal — no measurement data |
| Orange | Connection issue — no connection to router or internet |
| Red | Device error |
| Blue/white | Access point is starting up or shutting down |
Button on the dongle
- Long press (> 2 seconds): dongle restarts
- Short press (< 1 second): toggle access point on/off
🛟 Troubleshooting
| Problem | Possible cause | Solution |
|---|---|---|
| No connection | Wrong IP address | Check the IP address via the router or dongle interface |
| No connection | Dongle not on the network | Check if the dongle is connected via Ethernet or WiFi (green LED blinking) |
| No connection | Wrong credentials | Check the username and password on the dongle sticker |
| No connection | Devices on different networks | Make sure the Navigator and the Sessy dongle are on the same (V)LAN |
| Connection drops (WiFi) | Weak WiFi signal | Check the signal strength (RSSI). If the value is below -75 dB, switch to a wired Ethernet connection |
| Battery not responding | Wrong energy strategy | Set the energy strategy to Open mode in the dongle settings |
| Battery not responding | Wrong phase configured | Check if the phase setting matches the physical phase selector in the Sessy |
| Access point not visible | AP is disabled | Short-press the button on the dongle to reactivate the access point |
📐 Specifications
| 5 kWh Sessy | 10 kWh Sessy | |
|---|---|---|
| Capacity | 5.5 kWh (5.2 kWh usable) | 11 kWh (10.4 kWh usable) |
| Charge power | 2.2 kW | 2.2 kW |
| Discharge power | 1.7 kW | 1.7 kW |
| Battery type | Lithium iron phosphate (LiFePO4) | Lithium iron phosphate (LiFePO4) |
| Communication | WiFi 2.4 GHz, Ethernet RJ45 | WiFi 2.4 GHz, Ethernet RJ45 |
| Dimensions | 41 x 20 x 67 cm | 41 x 27 x 78 cm |
| Weight | 46 kg | 96 kg |
| Battery warranty | 10 years, 6000+ cycles | 10 years, 6000+ cycles |